
Last updated September 20, 2026
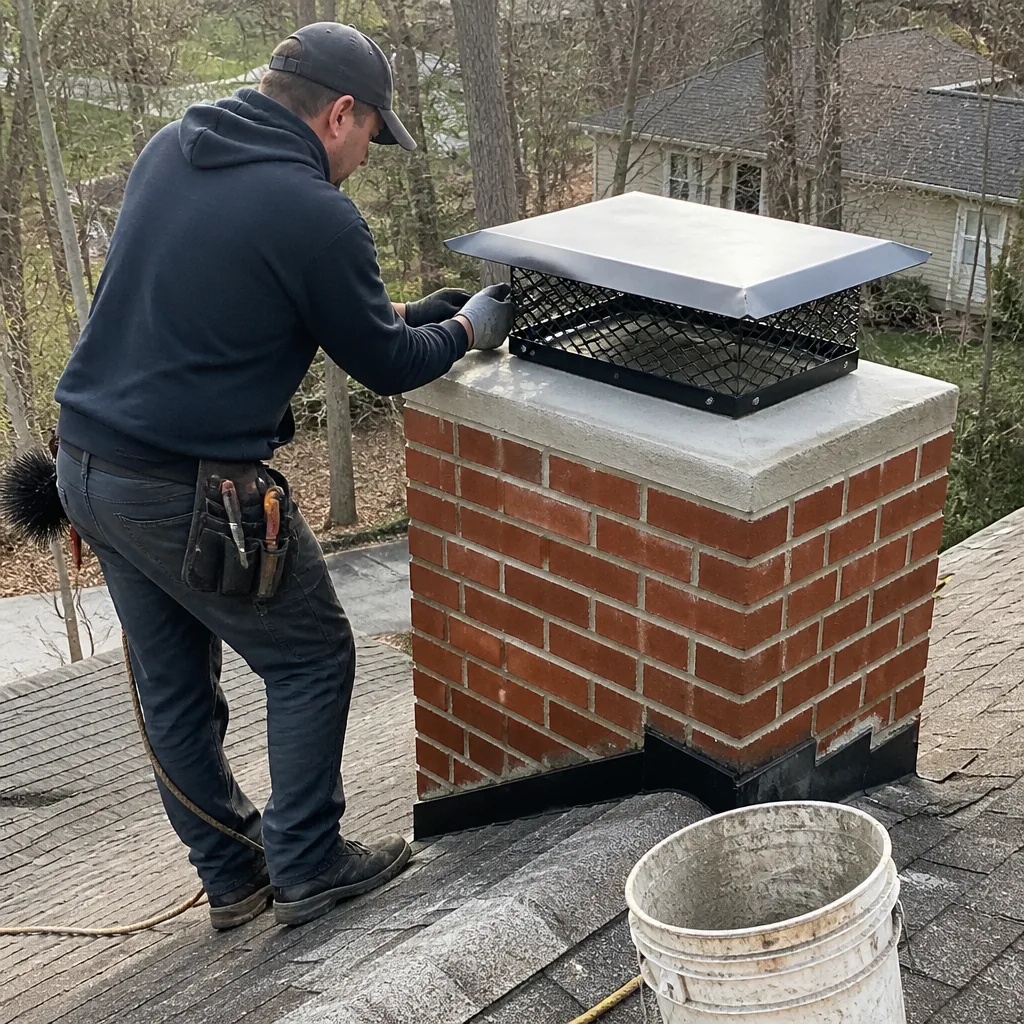
Level 1 sweep and inspection to the NFPA 211 annual standard - flue, crown, cap, and flashing checked and photographed
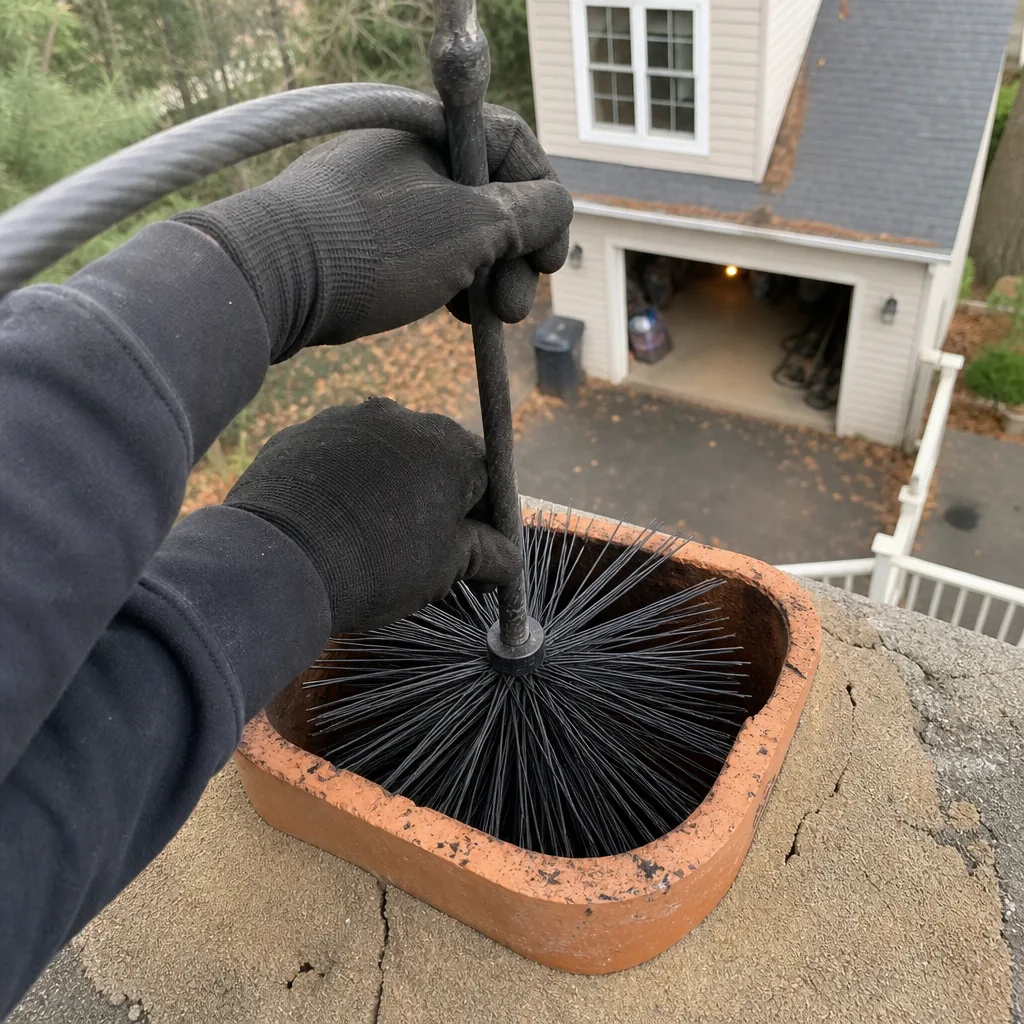
Chimney sweep logs do not sweep chimneys. They loosen some creosote - which then falls where a brush and vacuum still have to collect it.
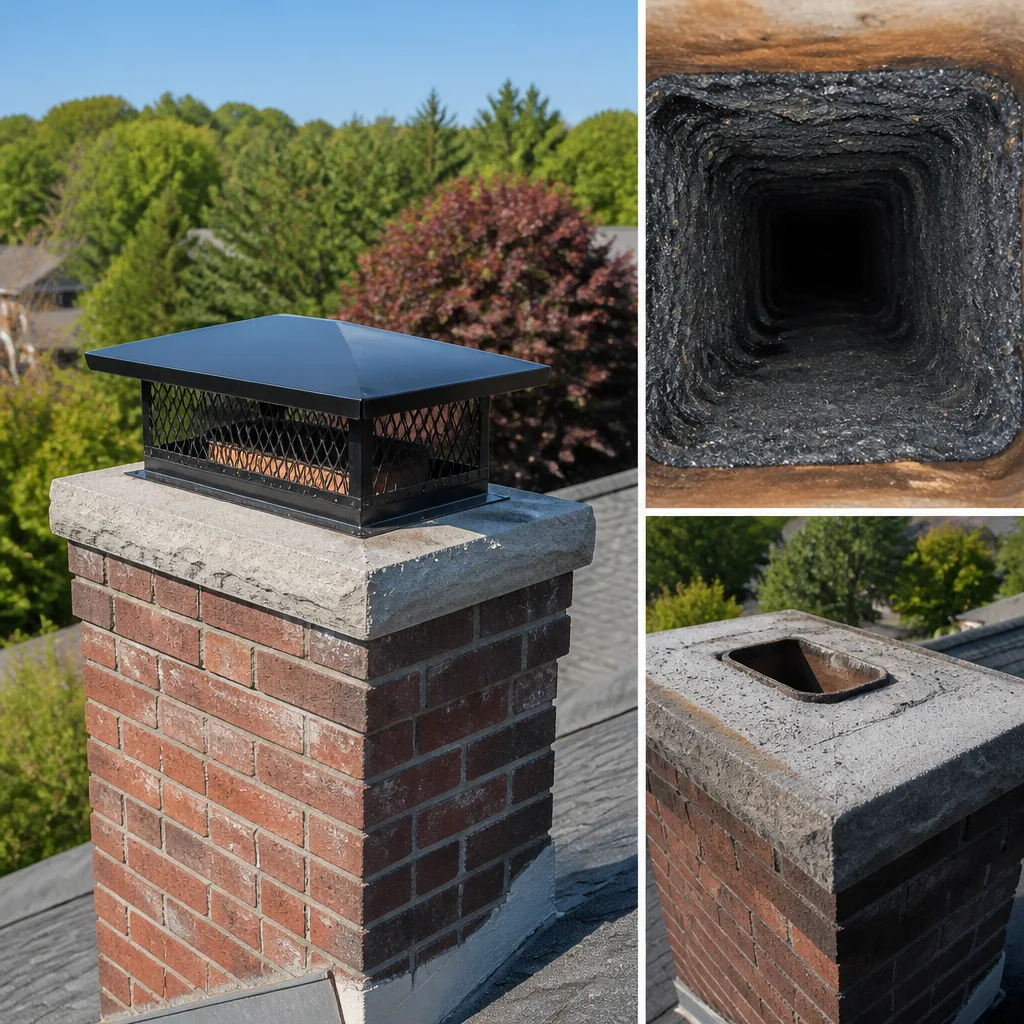
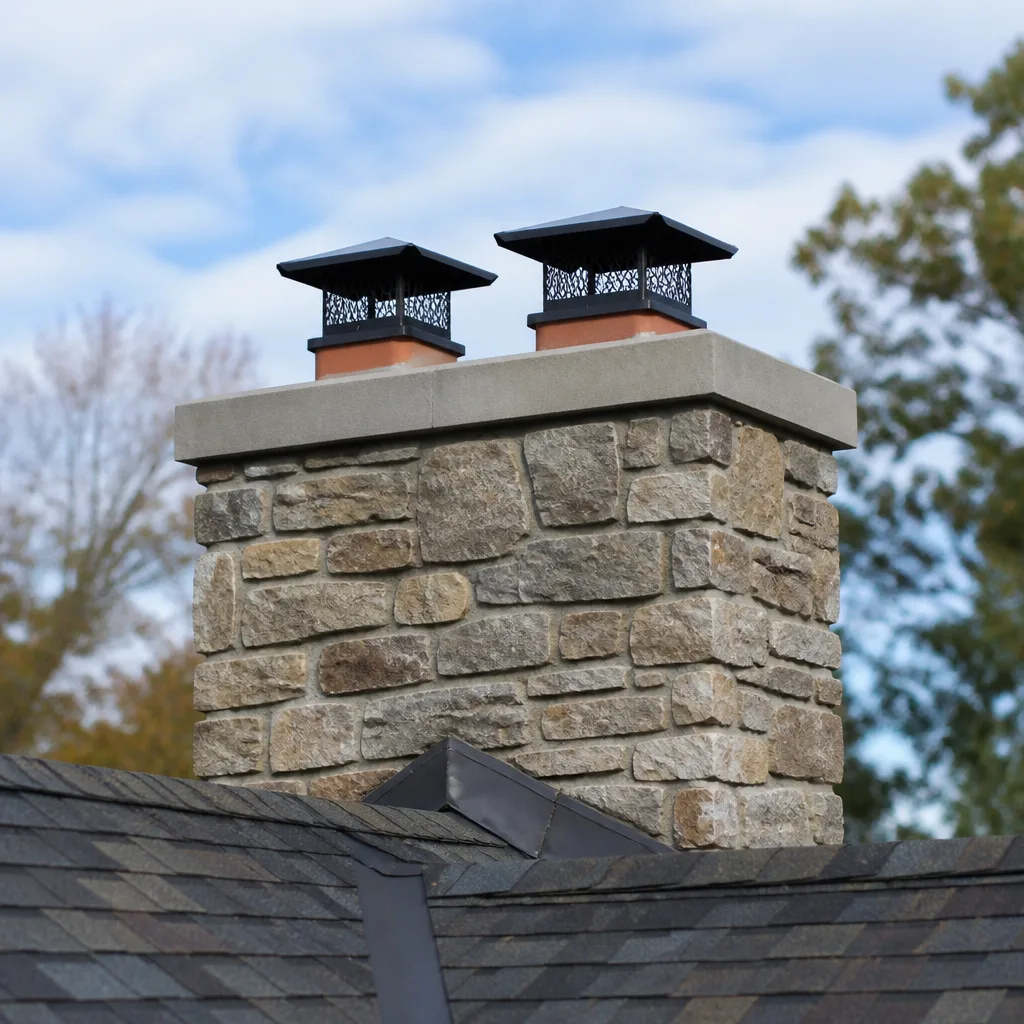
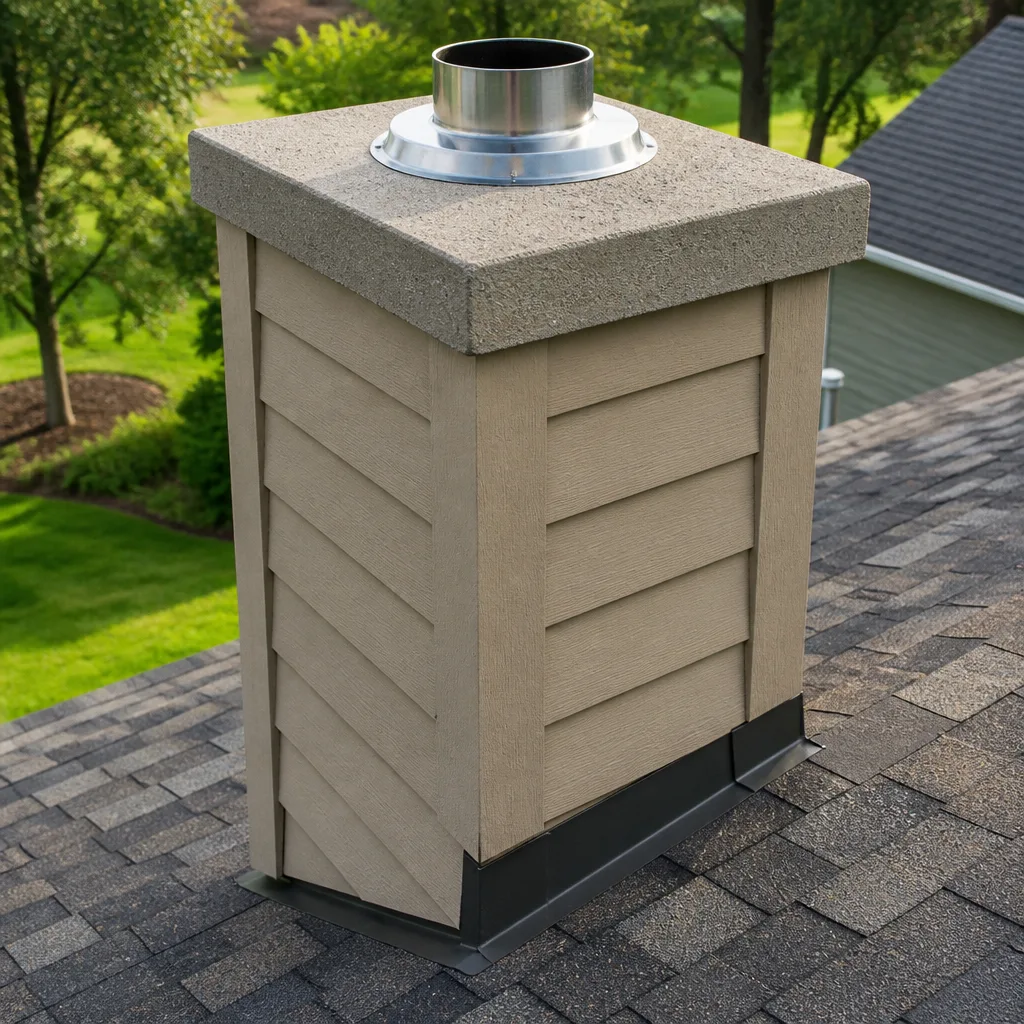
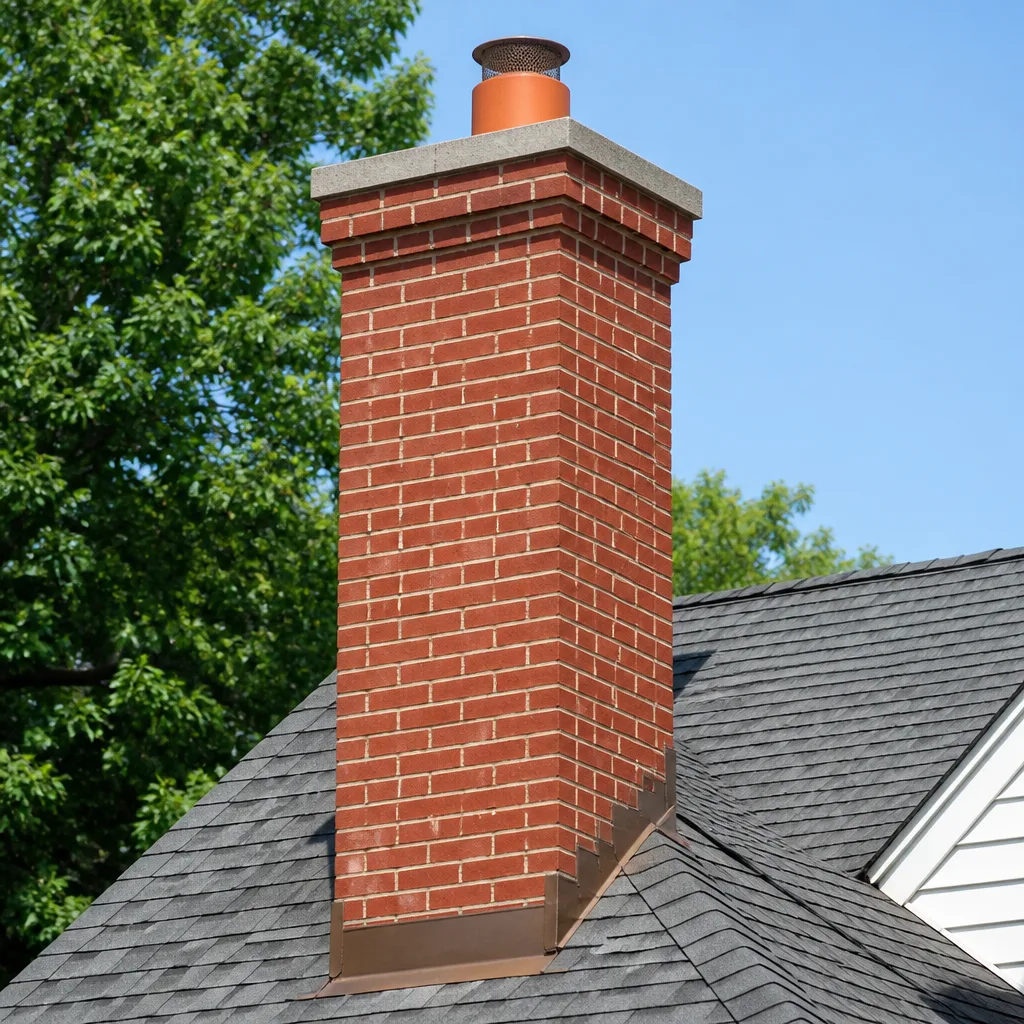
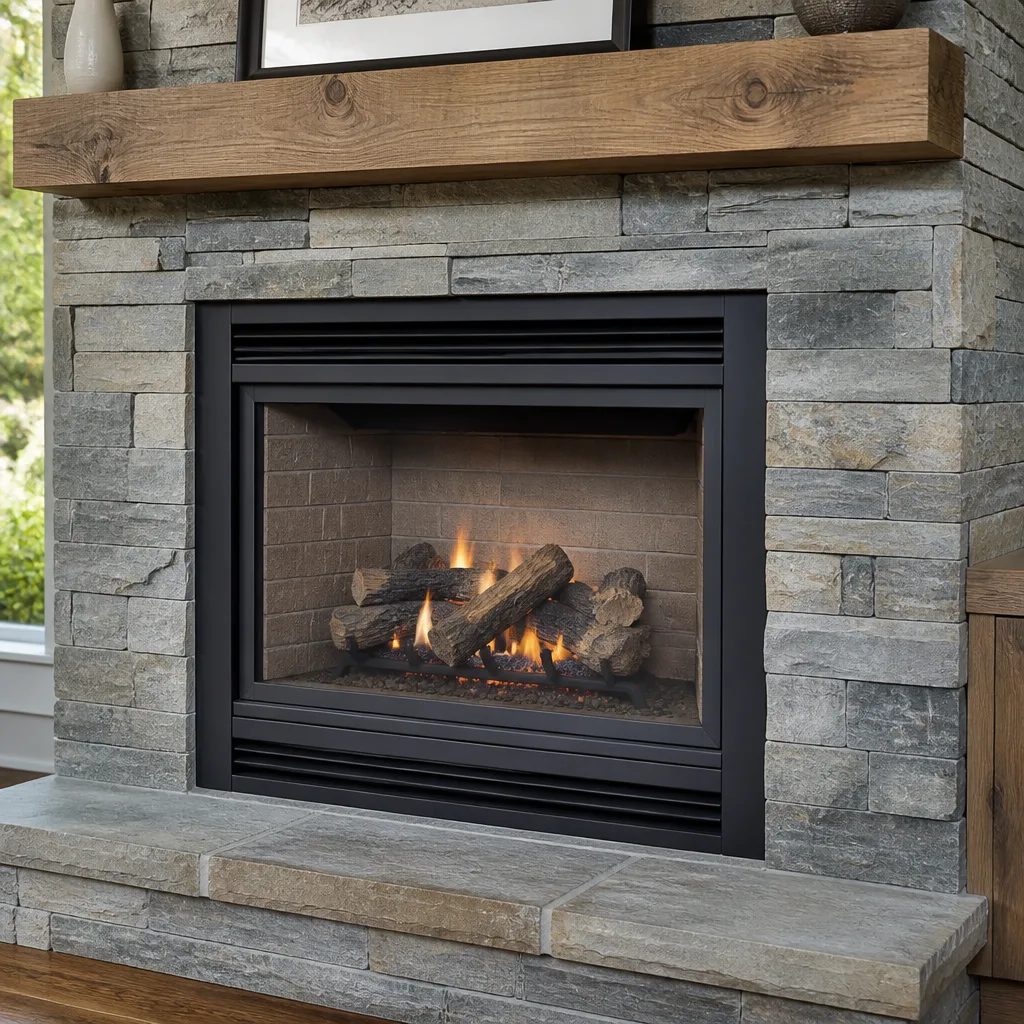
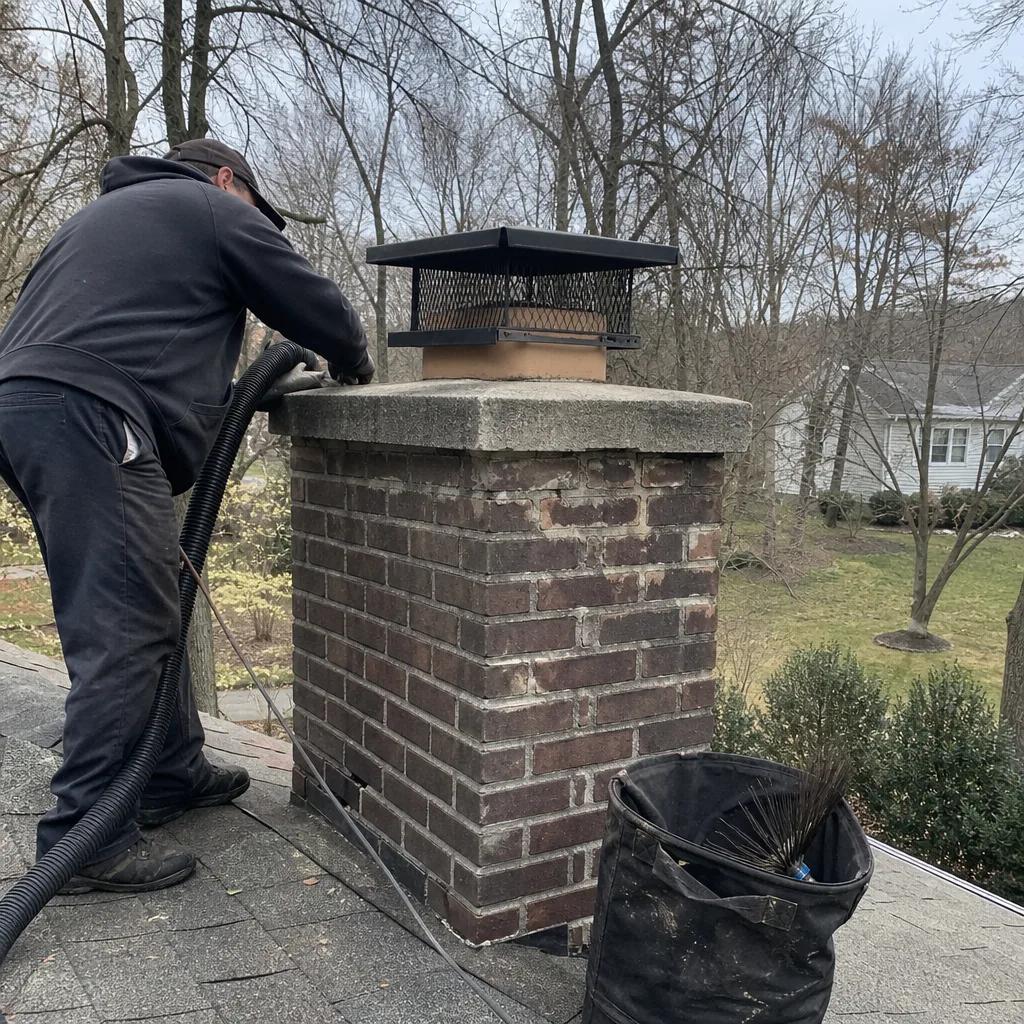 Before
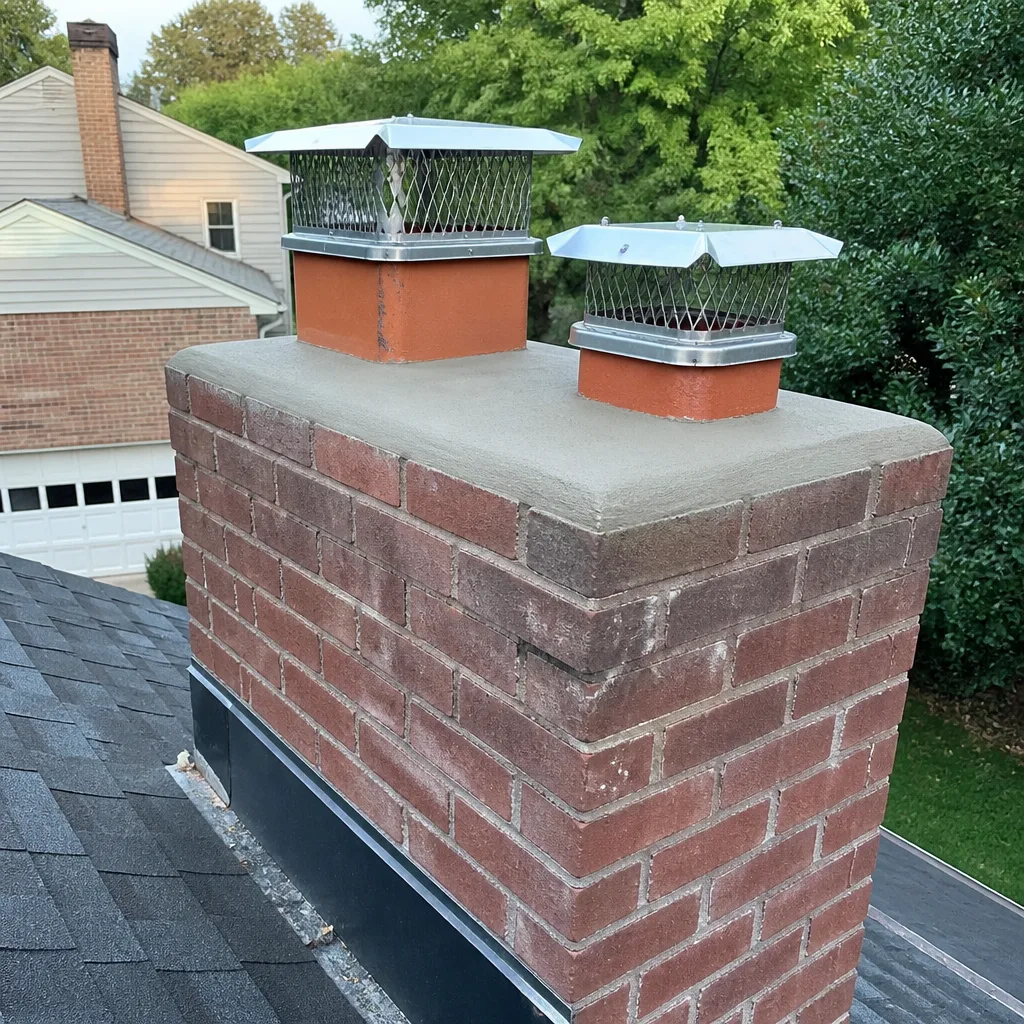 After
After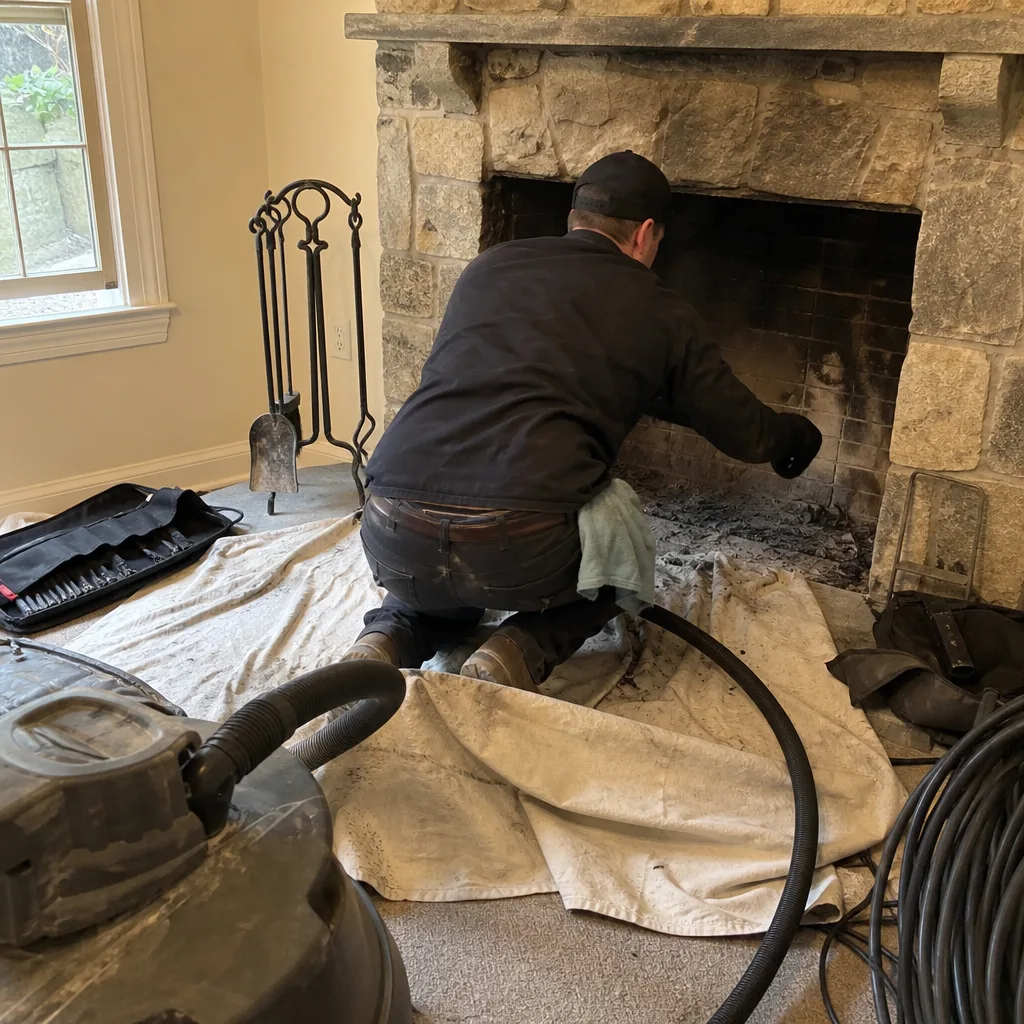 Before
 After
After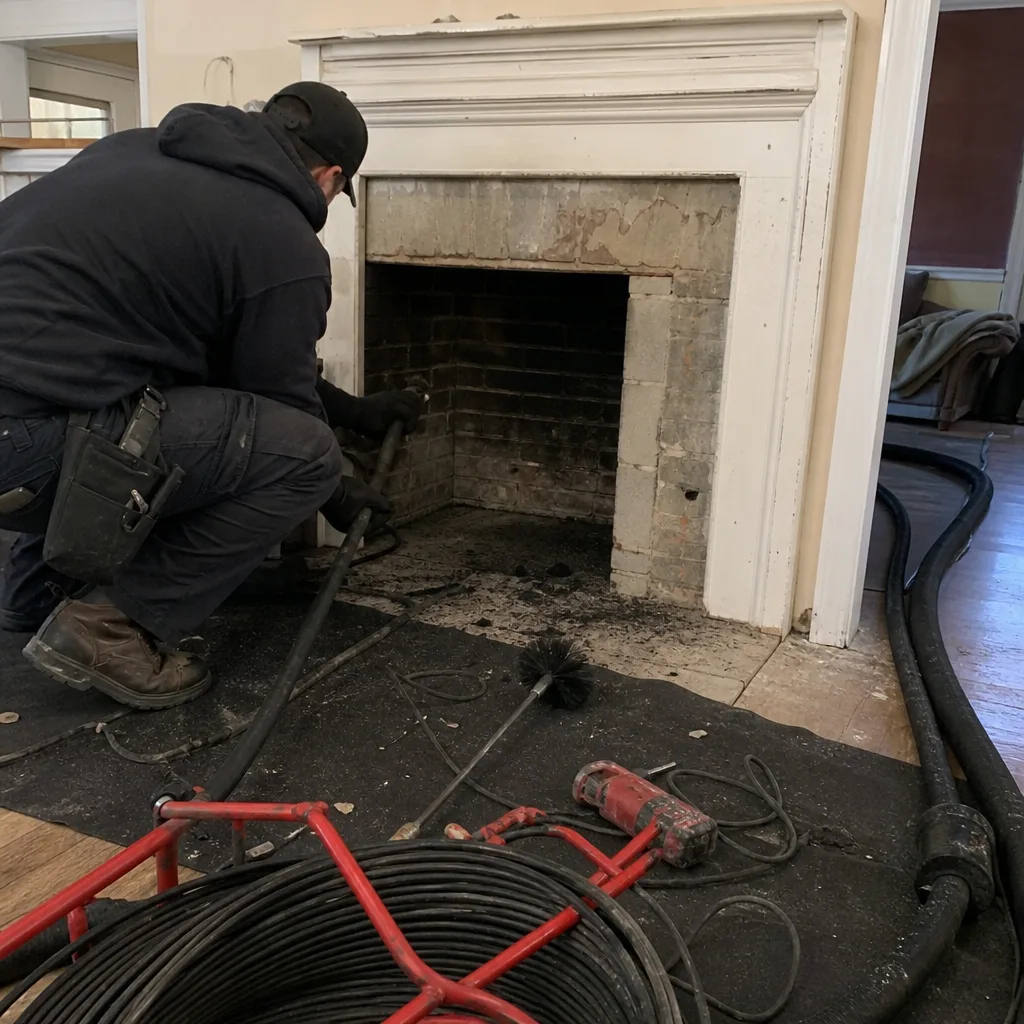 Before
 After
AfterChimney Cleaning & Sweep Maintenance Checklist for Fairfax Homeowners
Most chimney checklists online tell you to “check for cracks” with no criteria for what crack depth, length, or location actually fails. So you climb up, you look, you see something, and you still don’t know whether to call anyone. We’ve inspected more than 38,000 chimneys in Fairfax since 2009, and we can tell you exactly which measurements matter-starting with our Chimney Cleaning & Sweep services. This guide gives Fairfax homeowners a numbered, pass/fail inspection format tied to actual NFPA 211 thresholds, not vague advice. You’ll learn which items you can assess yourself, which require a camera or probe, and what each checklist item actually costs to ignore.
Quick Answer
A chimney maintenance checklist for Fairfax homeowners should assess seven things: flue liner surface condition, creosote class (I, II, or III), cap and spark arrestor integrity, crown-to-brick junction separation, damper seating, firebox mortar joints, and smoke chamber parging. Each item has a measurable pass/fail threshold from NFPA 211. Most homeowners can visually assess three of these from the roofline or firebox. The other four require a camera scan or depth probe to measure accurately. In Fairfax’s climate, the crown-to-brick junction is the item most likely to fail first.
Table of Contents
- Why a Pass/Fail Checklist Beats a “Look For” List
- The 7-Point Fairfax Chimney Checklist, With NFPA 211 Pass/Fail Criteria
- What You Can Assess Yourself vs. What Needs a Camera or Probe
- Fairfax-Specific: Clay Soil, Crown Settling, and the Spring Junction Check
- How to Date and Log Your Checklist for Resale and Insurance Claims
- The 3 Checklist Items Budget Sweeps Skip (and What Each Omission Costs)
- When Fairfax Homeowners Should Run This Checklist Each Year
- Common Mistakes to Avoid
- When to Call a Professional
- Frequently Asked Questions
- The Bottom Line
BeforeAfterWhy a Pass/Fail Checklist Beats a “Look For” List
Here’s the problem with generic chimney maintenance advice: “inspect for creosote buildup” is not an instruction. Nobody tells you that creosote comes in three classes, and only Class III is an immediate fire hazard requiring professional removal before the next burn. Nobody tells you that a hairline crack in a flue liner shorter than 12 inches and narrower than 1/16 inch is considered “pass” under NFPA 211, while a crack that runs floor-to-ceiling is a fail that requires liner repair or replacement before the fireplace can be used again.
A checklist that uses pass/fail language changes the conversation from “I saw something weird” to “my chimney failed item 4, and here’s the NFPA section that says so.” That matters for three reasons. First, it stops the anxiety spiral where every tiny flaw feels like a $6,000 repair. Second, it gives you a documented baseline you can compare against next year, or hand to a buyer when you sell your home in Fairfax. Third, it protects you from the other problem: being told everything is fine by a sweep who spent 20 minutes with a flashlight and a brush. NFPA 211 Level 2 is the inspection standard that actually requires a camera scan of the flue interior, and it’s the standard our Level Two Chimney Fairfax home has worked to since 2009.
A good checklist also separates “measure” from “observe.” Visual observation tells you the cap is rusted. Measurement tells you the rust has eaten through 40% of the mesh and the spark arrestor no longer meets the 3/4-inch opening requirement. One of those is a note. The other is a fail.
The 7-Point Fairfax Chimney Checklist, With NFPA 211 Pass/Fail Criteria
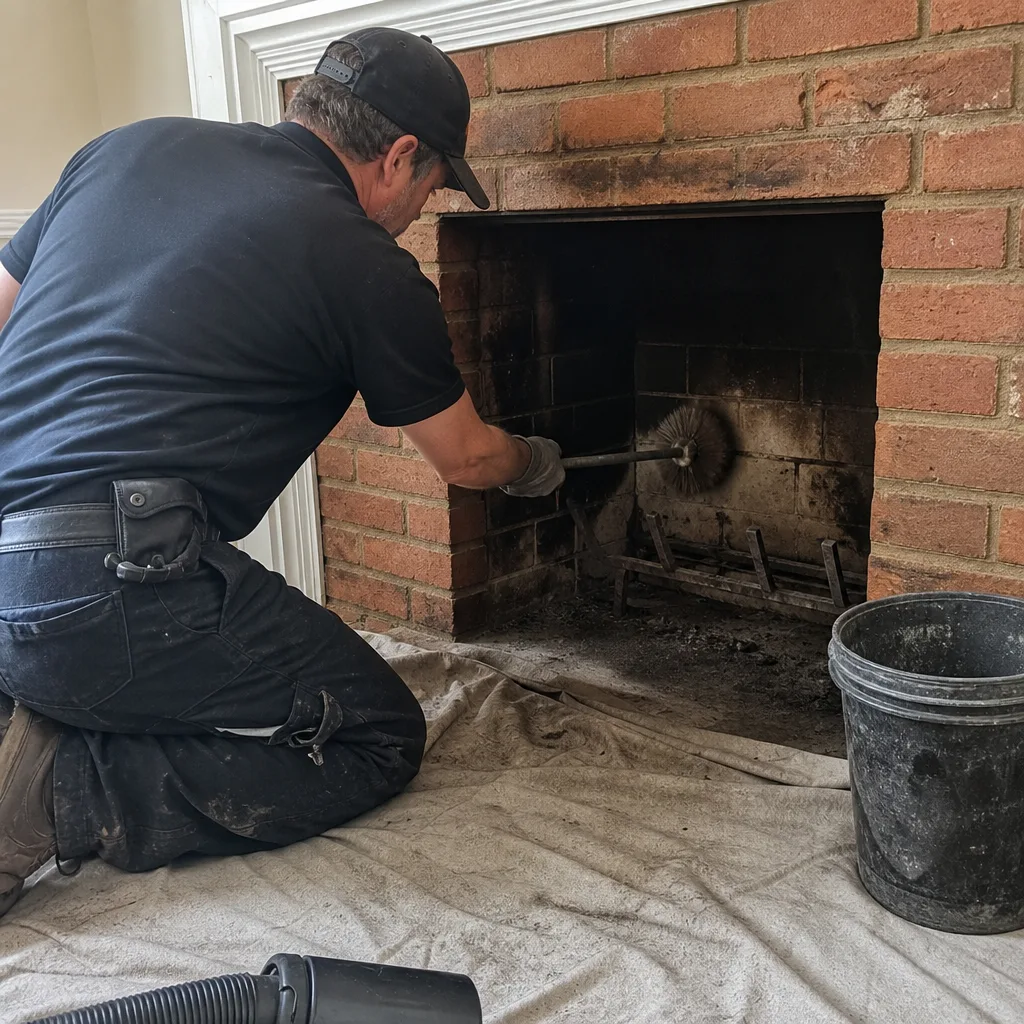
We’ve condensed NFPA 211’s inspection requirements into seven numbered checkpoint items. Each one has a specific pass/fail threshold. Some you can assess from the ground or the firebox. Some require a camera. All of them matter in Fairfax specifically, and we’ll explain why.
Checklist Item 1: Flue Liner Surface Condition (NFPA 211, Chapter 14)
The liner is the vertical channel inside your chimney that carries smoke and combustion gases up and out. It’s either clay tile, metal, or cast-in-place. The pass/fail criteria are specific: a liner passes if there are no open cracks wider than 1/16 inch, no missing tile sections, no gaps at the mortar joints between tiles, and no evidence of water intrusion staining the liner surface. A liner fails if any crack is wide enough to insert a dime edge, if a tile spall (a flaking layer that peels off the tile face) has reduced the wall thickness by more than 50%, or if the camera reveals separation between tile sections that exposes the chimney structure behind the liner.
Why it matters in Fairfax: homes in the Fairfax area built between 1960 and 1990 overwhelmingly used clay tile liners. Those liners have now seen 35 to 65 freeze-thaw cycles, and Fairfax gets enough winter temperature swings to matter. A liner that passes inspection is safe to use. A liner that fails means combustion gases, including carbon monoxide, can leak into the wall cavity or the living space. The fix is either a stainless liner from a manufacturer like Olympia Chimney or Gelco, or a resurfacing product like HeatShield. Both are permanent solutions, but neither should be quoted without camera evidence of the failure.
Checklist Item 2: Creosote Classification (NFPA 211, Chapter 11)
Creosote is the tar-like residue that condenses from wood smoke onto the flue interior. It’s classified by appearance and flammability, and the class determines whether you can keep burning or need to stop and schedule a cleaning. For a deeper look at when that cleaning is urgent, see our Chimney Cleaning Warning Signs: A Fairfax Homeowner’s Reference Guide.
- Class I creosote: light, sooty, powdery. Pass, with a note to continue regular sweeps.
- Class II creosote: shiny, flaky, tar-like in patches, dark brown or black. Borderline. Clean before heavy burning season.
- Class III creosote: thick, glossy, tar-like, often fused to the liner surface, dark black and hardened. Fail. Do not burn until professionally removed. Class III creosote burns at temperatures exceeding 2,000 degrees Fahrenheit, and a chimney fire at that temperature can crack a clay liner in under 90 seconds.
The problem with creosote self-assessment is that you can only see the first 18 to 24 inches of flue from the firebox with a flashlight. The creosote accumulation highest in the flue, where smoke cools fastest as it approaches the top, is exactly what you cannot see without a camera. We find Class II and Class III creosote on chimneys that “look fine from the bottom” more often than Fairfax homeowners would believe.
Checklist Item 3: Cap and Spark Arrestor Integrity (NFPA 211, Chapter 13)
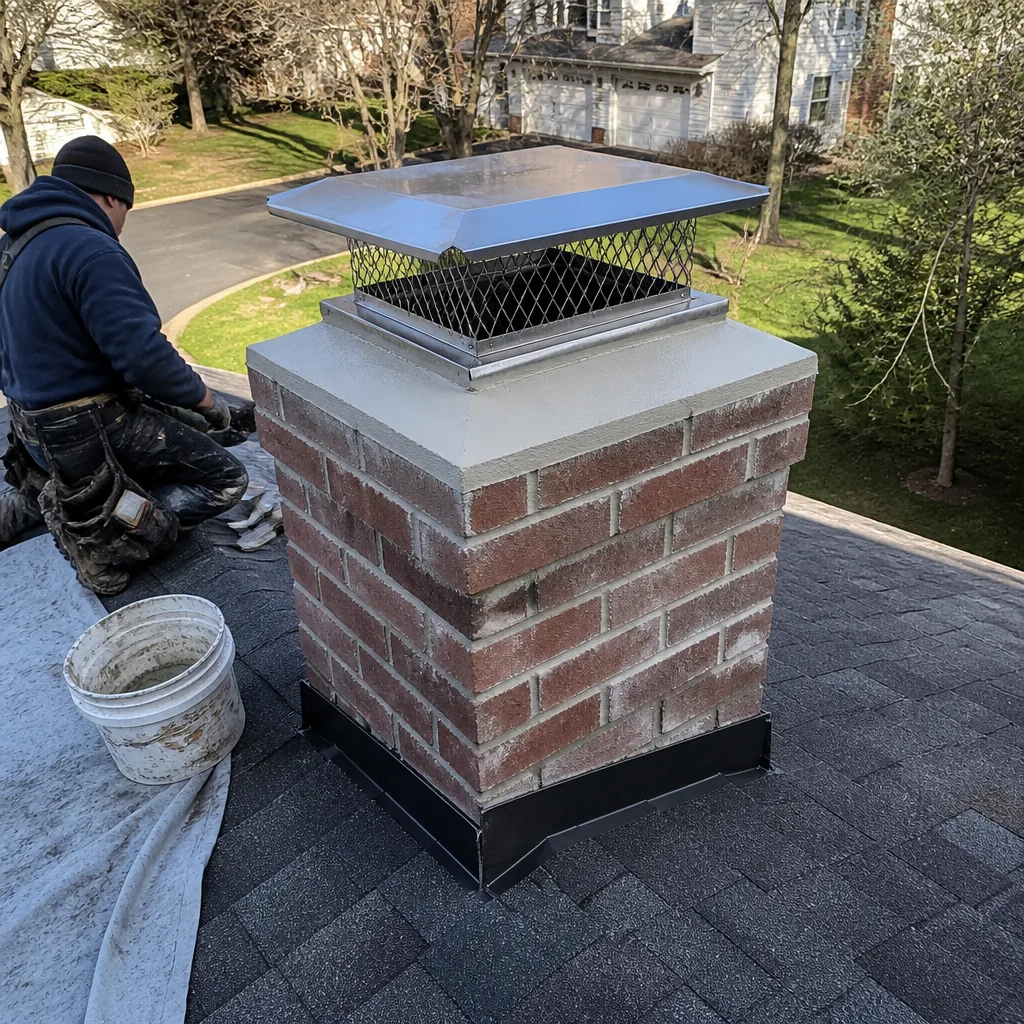
The cap sits at the top of the flue and does two jobs: keeps rain, leaves, birds, and raccoons out, and holds a spark arrestor mesh that prevents hot embers from escaping onto your roof. The pass/fail check is straightforward. The cap passes if it is present, secured without wobble, free of rust-through holes, and the mesh openings are intact and uniformly sized at 3/4 inch maximum. It fails if the cap is missing, if rust has eaten through the sheet metal anywhere, if the mesh is torn or separated from the frame, or if the mesh openings have been blocked by debris, nests, or creosote glaze.
A failing cap is one of the cheapest repairs in the chimney trade, but it’s also one of the most consequential. Water pouring down an uncapped flue is the single fastest way to destroy a liner, rot a damper, and fill a smoke chamber with rust scale. In Fairfax, where we average 43 inches of rain per year, an uncapped flue can do $2,000 to $4,000 in cumulative damage before anyone notices the signs.
Checklist Item 4: Crown-to-Brick Junction Separation (NFPA 211, Chapter 7)
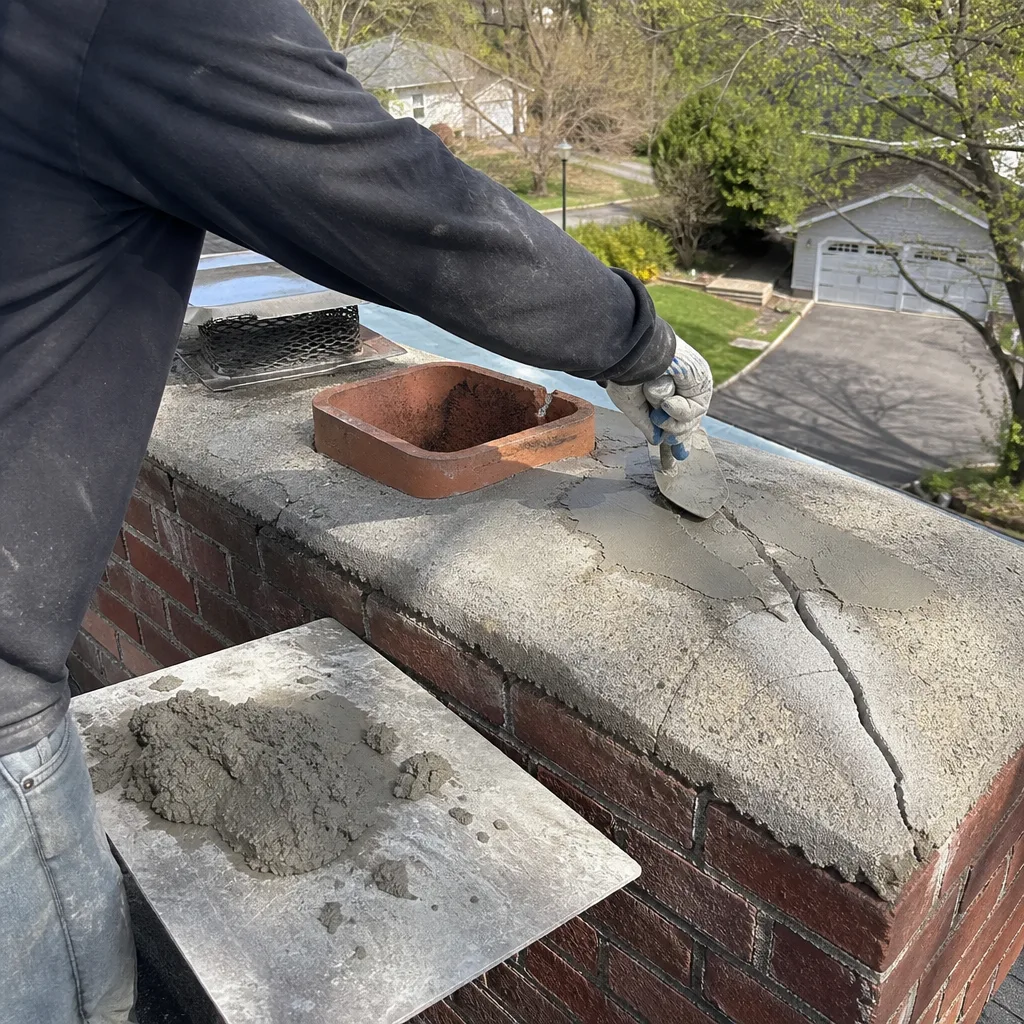
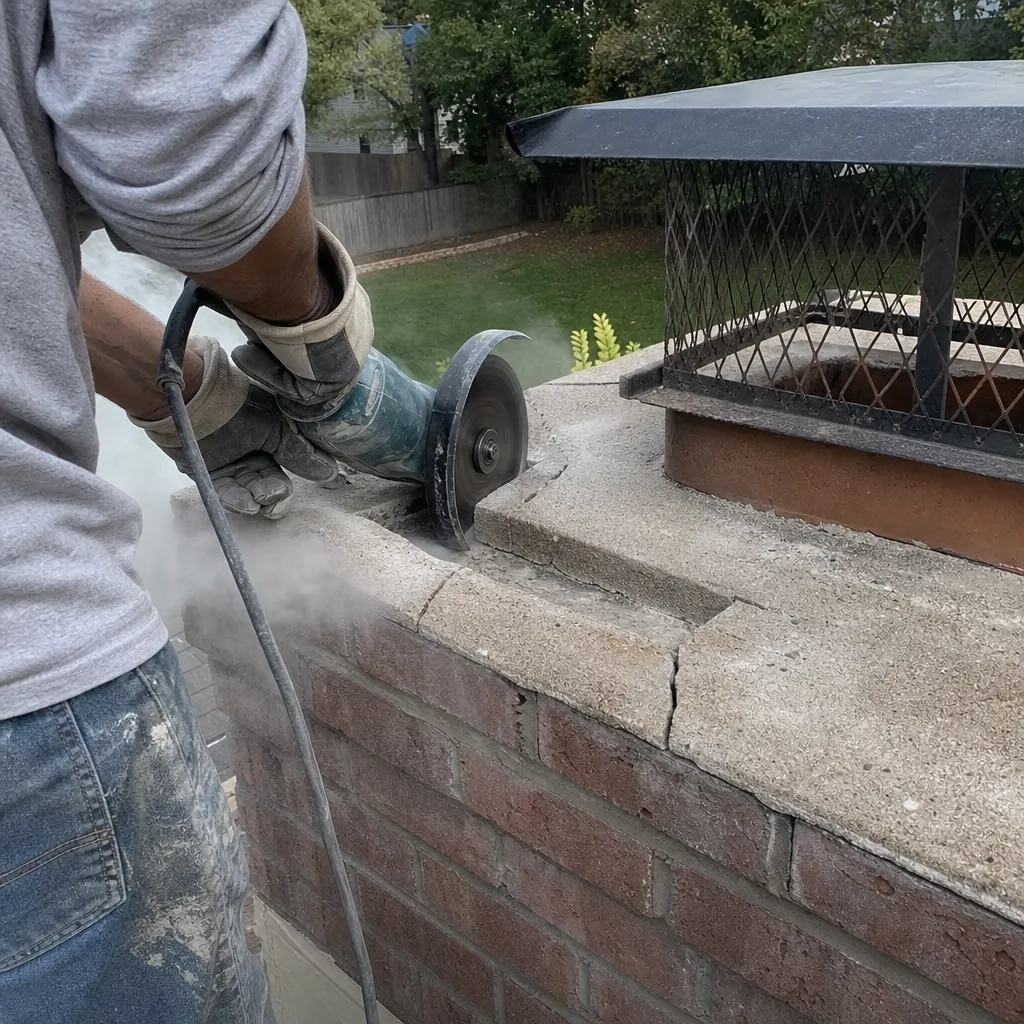
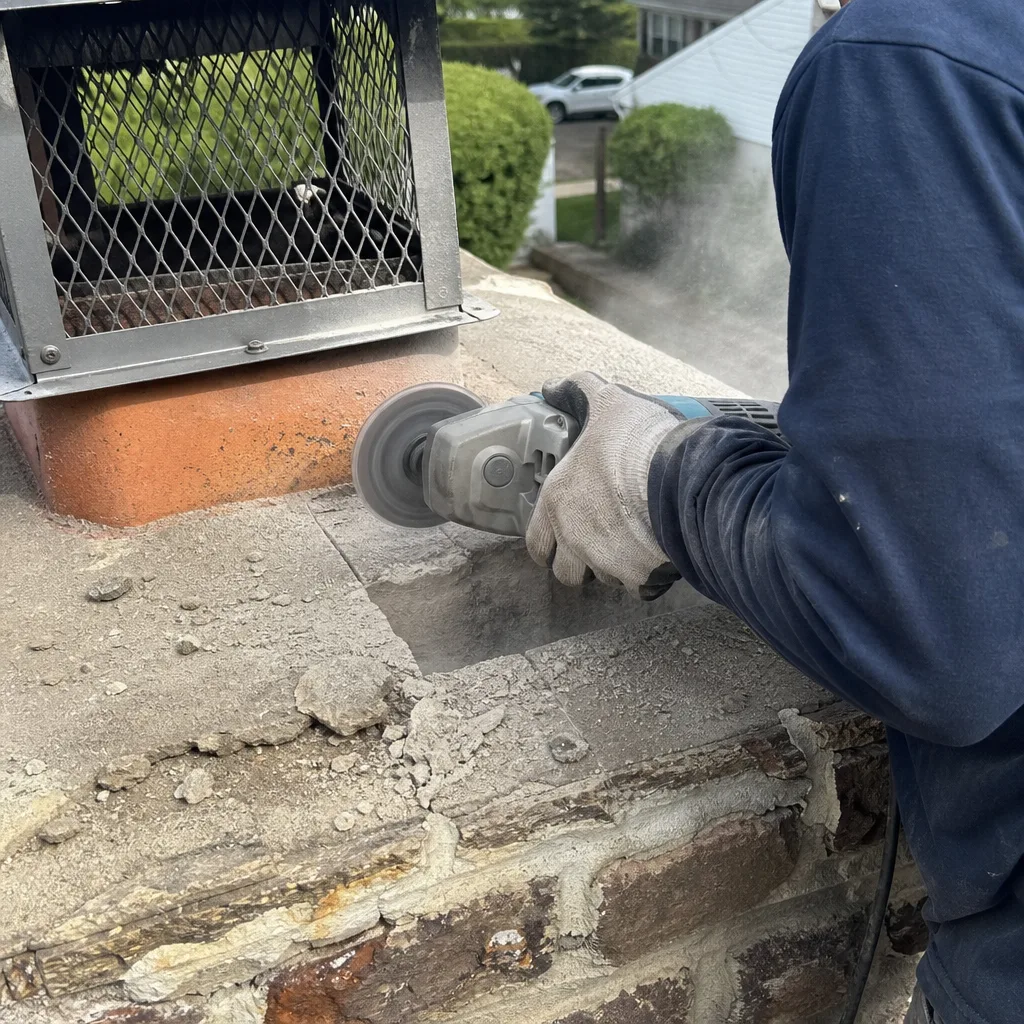
The crown is the concrete or mortar slab that caps the top of the chimney structure, with the flue tile protruding through it. The junction where the crown meets the flue tile, and where the crown meets the outer brick, is where almost every exterior chimney water problem begins. A crown passes if it has a slight slope away from the flue (typically 2 inches of fall per foot), no cracks wider than 1/8 inch, and an intact flexible sealant joint where the flue tile emerges. It fails if you see cracks wider than 1/8 inch, if the crown has separated from the brick edge by more than 1/16 inch, if water pools on the crown surface, or if the sealant around the flue has peeled back and exposed the joint.
This is the single most location-specific item on the checklist, and we cover it in detail below in the Fairfax clay soil section.
Checklist Item 5: Damper Seating and Operation (NFPA 211, Chapter 12)
The damper is the metal plate inside the firebox throat that opens to let smoke exit and closes to keep heated indoor air from escaping up the flue when the fireplace is not in use. A damper passes if it opens fully without obstruction, closes fully against its seat with no visible light gap around more than 25% of the perimeter, and shows no rust-through on the plate itself. It fails if the handle is frozen, if the plate closes but leaves a gap larger than 1/8 inch at any point, or if the plate has rust holes.
A failed damper is rarely a safety hazard on its own, but it’s an energy leak. A 4-inch gap around a closed damper has about the same air-leakage area as a window left open 2 inches all winter. In Fairfax, with four solid months of heating demand, that’s measurable dollars on the utility bill and a house that never quite feels warm in the downstairs rooms.
Checklist Item 6: Firebox Mortar Joints (NFPA 211, Chapter 8)
The firebox is the brick-lined chamber where the fire burns. Its mortar joints are the seams between the firebrick. This one typically does require some self-assessment you can do from the living room: shine a bright flashlight into every corner of the firebox and examine the joints. They pass if the mortar is intact, with joints no more than 1/8 inch eroded, and no bricks that move when you press firmly. They fail if you find joints eroded deeper than 1/4 inch, gaps where the mortar has fallen out entirely, cracks running through the brick face, or any brick that shifts under hand pressure.
Why it matters: the firebox is the only part of the chimney that’s designed for direct flame contact. When mortar joints erode, heat reaches the structure behind the firebox. That structure is usually combustible framing. This is one place where the pass/fail line is genuinely hard.
Checklist Item 7: Smoke Chamber Parging (NFPA 211, Chapter 9)
The smoke chamber is the funnel-shaped section above the firebox and below the flue. It compresses the smoke column from the wide firebox into the narrow flue. In most mid-century Fairfax homes, it’s built from corbeled brick with a rough surface, and code has required that surface to be smooth-coated (parged) with high-temperature mortar since the 1980s. It passes if the parging is intact, smooth, and without gaps or exposed corbel ledges. It fails if the parging is cracked, missing in patches, or never installed in an older home.
This is the checklist item that almost no one outside the chimney trade knows to check, because you can’t see the smoke chamber from the firebox without a mirror and a light, and you can’t assess its condition accurately without a camera scan. Budget sweeps often skip it. That’s a problem because a failed smoke chamber catches creosote on its rough ledges, blocks proper draft, and can allow combustion gases to leak through the corbel joints.
What You Can Assess Yourself vs. What Needs a Camera or Probe
Here’s where we get direct. The checklist items above are not all DIY-accessible, and pretending otherwise is how homeowners get hurt or get misled. This is the honest breakdown.
You can assess these three yourself from the ground or the firebox:
- Cap and spark arrestor (Item 3) - if you can safely see the cap from the ground with binoculars, you can spot missing caps, rust-through, or mesh damage. If your roof pitch is walkable and you’re comfortable on a ladder, you can inspect it up close. If the roof is steep or the chimney is on a second story, skip it. No checklist item is worth a fall.
- Damper seating (Item 5) - from inside the firebox, you can cycle the damper handle, feel for full closure, and look for light gaps around the plate. Bring a flashlight. This one is genuinely DIY.
- Firebox mortar joints (Item 6) - a bright light and a careful look at every joint gets you 80% of the information. Run your finger along a joint. If it comes back with mortar sand, the joint is eroding. If you can push a nail into it more than 1/8 inch, it’s failing.
These four require a camera scan or depth probe to measure accurately:
- Flue liner surface condition (Item 1) - no matter how good your flashlight is, you cannot see the full length of a flue liner. NFPA 211 Level 2 specifically requires a camera scan. We’ve been doing camera-documented inspections since 2009, and our entire inspection protocol is built around showing you the footage and the photos. If a sweep can’t show you the inside of your flue, they didn’t inspect it.
- Creosote classification (Item 2) - the upper third of the flue, where Class II and III creosote concentrate, is invisible from the firebox. A camera sees it immediately. A probe measures its thickness. You can’t do either without professional equipment.
- Smoke chamber parging (Item 7) - the smoke chamber shape defeats visual inspection from below. We use a camera and a mirror setup to photograph the chamber walls and the parging condition. This is a Level 2 inspection item, not a glance-up-the-chimney item.
- Crown-to-brick junction (Item 4) - a thin crack at the crown-to-flue junction is barely visible from the roofline, and the sealant joint looks fine until it fails. It takes a close inspection, and often a feeler gauge, to know whether the separation is superficial or structural.
The pattern here is simple: anything visible from the ground or the firebox is fair game for homeowner assessment. Anything requiring a view up the flue, down the crown, or into the smoke chamber requires a professional. That’s not gatekeeping. That’s the physical reality of chimney geometry.
Fairfax-Specific: Clay Soil, Crown Settling, and the Spring Junction Check
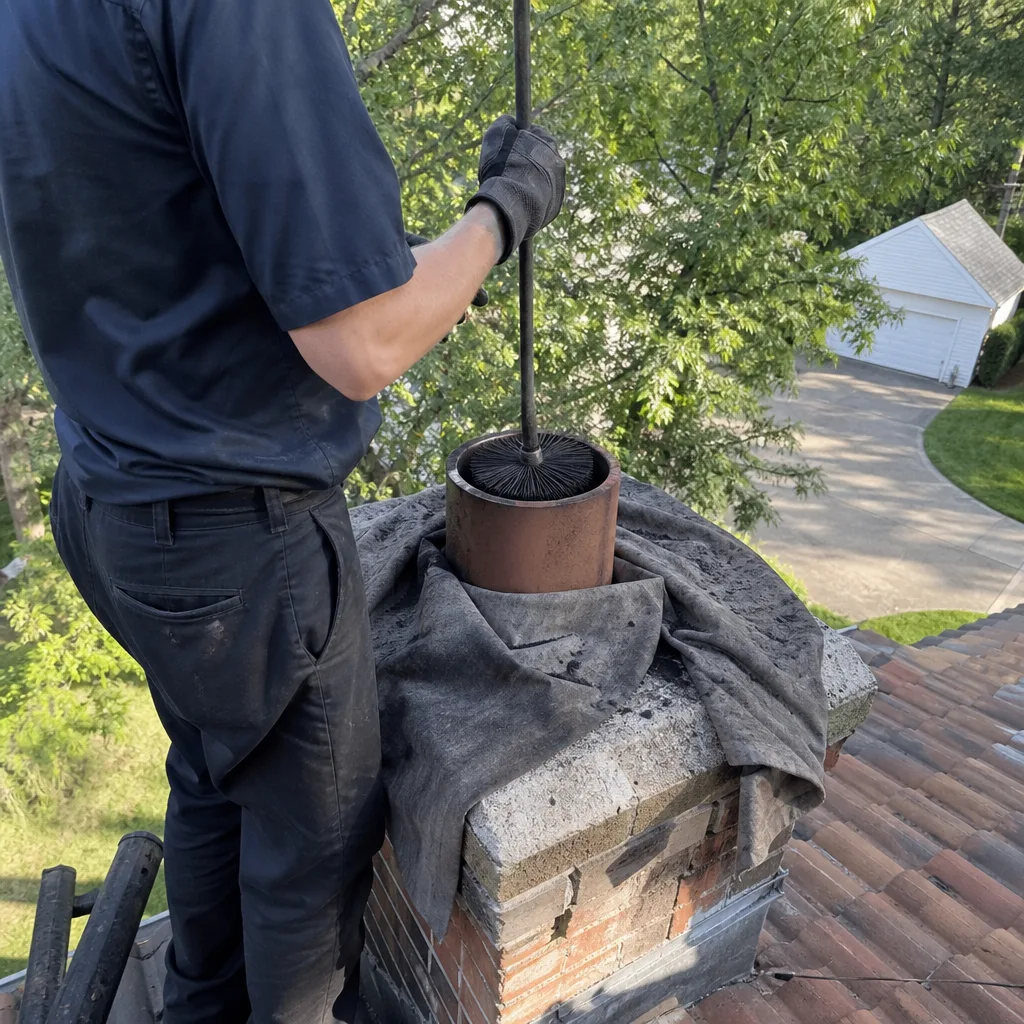
Fairfax sits on a band of Piedmont clay soil that expands when wet and contracts when dry. If you’ve lived here through two summers, you’ve seen it in your foundation: cracks that open in August and close by October. The same movement affects chimneys, but the failure point is specific.
When the soil under a chimney footing expands and contracts, the whole chimney mass moves. The brick section and the concrete crown move together, so the brick-to-crown bond usually holds. But the flue tile, which is a separate piece cast into the crown, moves at a different rate. The result is a thin separation ring where the flue tile emerges from the crown, and that ring is where water enters the chimney structure. Once water gets into that joint and freezes, the crack widens. Within a few seasons, the joint is an open channel, and every rain event sends water down the chase, into the smoke chamber, and eventually into the ceiling or wall around the fireplace.
We tell Fairfax homeowners to check this junction every spring, around late April or early May, after the ground has dried and the chimney has settled back to its normal position. The check itself is simple from the roofline: is the sealant ring around the flue tile intact and flexible, or is it cracked, peeled, or separated? But the interpretation matters. A hairline separation under 1/16 inch is normal seasonal movement. A gap you can slide a quarter into is a fail and should be sealed or the crown rebuilt before the next winter freeze cycle.
This is also the checklist item most frequently missed on visual-only inspections. A sweep who does a drive-by glance and tells you “the crown looks fine” is not measuring what matters. Measuring means getting up there, looking at the junction from six inches, and testing the sealant with a fingernail. That’s what a proper crown inspection looks like in Fairfax.
Our Chimney Repair in Fairfax page covers crown and junction work in more detail, including what a rebuilt crown should cost on a typical Fairfax chimney.
How to Date and Log Your Checklist for Resale and Insurance Claims
A checklist you run once and throw away is worthless. A checklist you date, log, and keep becomes a service history. That history has direct financial value in Fairfax real estate transactions and insurance claims.
Here’s the system we recommend. It takes about five minutes per year.
- Print or screenshot the checklist and fill it in on the day you run it. Write down the date, the pass/fail result for each of the seven items, and any notes you took. If you took photos of the cap or the firebox, put the filenames in the notes.
- Log the date and result in a simple table. A three-column spreadsheet works: Date | Item | Result | Notes. After three years, you’ll have a trend line. That trend line tells you whether a joint is eroding gradually (normal, monitor) or opening suddenly (problem, address now).
- Attach any professional work orders to the log. Every professional sweep or repair should produce a written report. Our visits always include a photo record and a written price before any work, which is Clause 4 and Clause 1 of the Haven Standard. Those documents belong in the same file as your self-check results.
- When you sell the home, hand the file to the buyer. In a Fairfax market where multiple offers are common, a documented chimney service history is a meaningful differentiator. It answers the buyer’s inspection question before it’s asked.
- When you file an insurance claim for chimney or water damage, the log is your evidence. If a crown separation was logged as “fail” in 2024 and you had it repaired in 2025, and the claim is from 2026 water damage, you’ve shown you maintained the component. That matters for coverage determinations.
One note: don’t rely on memory. The homeowner who “remembers when we had the chimney worked on” but has no date, no written scope, and no receipt is not in a strong position in a sale or a claim. Write it down. Log it. Keep the documents.
The 3 Checklist Items Budget Sweeps Skip (and What Each Omission Costs)
We’ve audited hundreds of chimneys in Fairfax that were previously “cleaned and inspected” by budget sweeps, and we see the same three omissions over and over. Each one has a predictable cost.
Omission 1: Camera scan of the flue liner. What it misses: cracked or separated clay tiles, hidden Class III creosote, and erosion from past chimney fires. A brush-and-vacuum sweep cleans the first few feet and never knows what’s above. What it costs within two seasons: a liner replacement that should have been caught early, typically $3,500 to $9,000 in Fairfax depending on the liner type and chimney height. A camera scan on the front end costs a fraction of that, and we include it on every visit, not as a paid add-on.
Omission 2: Crown and junction inspection at the roofline. What it misses: the exact sealant separation around the flue tile described in the Fairfax clay soil section above. A budget sweep who never gets on the roof, or who glances from the driveway, cannot see this failure. What it costs within two seasons: water intrusion into the chimney chase, damaged insulation, stained ceilings, and a crown rebuild that runs $1,500 to $3,500. If the water reaches the firebox, add firebox repointing or rebuild on top.
Omission 3: Smoke chamber parging check. What it misses: exposed corbel ledges, degraded parging, and draft problems caused by turbulence in a rough chamber. This is the item that requires a camera and a mirror, and it’s the first thing skipped on a low-price sweep. What it costs within two seasons: smoke roll-out into the room when the fire burns low, creosote accumulation on the rough ledges, and a parging repair that runs $800 to $1,800 in most Fairfax homes. In the worst cases, combustion gases leaking through corbel joints create a carbon monoxide risk that no homeowner can detect without a monitor.
The pattern is the same for all three: the omission is invisible on day one. The cost shows up eighteen to twenty-four months later. By then, the homeowner has paid for two “cheap” sweeps and is now paying four times that amount for a repair that could have been a smaller job.
If you’re in Fairfax and want to see what a proper inspection looks like, our Chimney Cleaning & Sweep in Fairfax page explains what’s included on every visit.
When Fairfax Homeowners Should Run This Checklist Each Year
Timing matters because the checklist measures damage that accumulates over a specific season. Run it at the wrong time and you’ll miss something.
The spring check (late April to early May): this is the crown and exterior check. The ground has dried, the chimney has settled to its summer position, and the cracked soil at the footing is at its most visible. Focus on Checklist Item 4 (crown-to-brick junction) and Item 3 (cap and spark arrestor). If you’re going to have any exterior repair work done, spring and early summer are also the best seasons for it in Fairfax: warm enough for proper sealant curing, and dry enough for mortar work.
The fall check (September): this is the interior check before burning season starts. Focus on Checklist Item 2 (creosote class), Item 5 (damper seating), Item 6 (firebox mortar), and Item 7 (smoke chamber parging). If the flue needs cleaning, doing it in September means you’re ready to burn on the first cold night in October. Most Fairfax homeowners schedule sweeps in October and November, which means September appointments are easier to get and leave time if a repair is needed.
One exception: if you notice any of the following at any time of year, run the full checklist immediately: water staining on the ceiling or wall around the fireplace, a smoky smell in the house on humid days, debris falling into the firebox, birds or animals in the chimney, or a fire that’s suddenly hard to start or keeps going out. These are active failure signals, not maintenance items.
This seasonal rhythm is the one most experienced Fairfax chimney owners settle into. It works because spring checks catch water problems before summer storms and winter freezes compound them, and fall checks catch creosote and mechanical problems before burning season puts them under heat and pressure.
Common Mistakes to Avoid
- Trusting a “Level 1” inspection when the flue needs a Level 2. NFPA 211 specifies Level 2 (camera scan) for any change in use, sale of a home, or operational problem. A Level 1 is a visual check of accessible parts only. In Fairfax, where most homes are resales and most chimneys are decades old, a Level 1 is rarely sufficient.
- Assuming a “clean” chimney means a safe chimney. A brush passes through the flue and removes creosote, but it does not evaluate liner integrity, crown condition, or smoke chamber parging. Those are inspection tasks, not cleaning tasks.
- Running the checklist from ground level only. The cap and crown junction are the two highest-failure items in Fairfax, and neither can be assessed accurately from the driveway. You need either a safe roofline view or a professional with a ladder and camera.
- Ignoring hairline cracks because they “look small.” A crack that opens in winter and closes in summer is doing active cycling damage. The NFPA 211 threshold is 1/8 inch for crown cracks, but repeated cycling can turn a 1/16-inch crack into a 1/4-inch separation in one winter.
- Re-sealing a crown junction with the wrong product. Using hardware-store silicone or roof sealant at the flue-to-crown junction will fail within one heating season. This joint requires a high-temperature, flexible sealant designed for chimney crowns. We use materials from manufacturers like Gelco and Copperfield specifically because they’re rated for the thermal cycling a Fairfax chimney sees.
- Skipping the smoke chamber because you can’t see it. It’s the single most overlooked section of a residential chimney in Fairfax, and it’s also the section where carbon monoxide leakage is hardest to detect. If a professional can’t show you a photo of your smoke chamber, they didn’t inspect it.
When to Call a Professional
Call a professional if any checklist item returns a fail, or if you cannot safely access the item to evaluate it. More specifically: if you see cracks wider than 1/8 inch in the crown, if the flue liner shows visible separation or spalling from the firebox view, if the damper doesn’t seat, if the firebox mortar erodes more than 1/4 inch, or if you smell smoke when the fireplace isn’t in use. Also call if it’s been more than two years since your last camera-scan inspection, even if everything looks fine from the outside. The highest-risk failures are the ones that show no external sign. Level Two Chimney Fairfax offers free estimates in Fairfax, and every inspection includes a camera scan and a photo record, not a flashlight glance. Call (571) 443-8256.
Frequently Asked Questions
A chimney in Fairfax should be cleaned once per year if you burn more than a cord of wood per season, and at minimum once every two years even with light use. The NFPA 211 standard calls for cleaning when creosote reaches 1/8 inch thickness on the flue interior, which translates to roughly one season of regular burning in a typical Fairfax fireplace. Homes burning unseasoned wood, or burning more than two cords per winter, often need mid-season attention. Call (571) 443-8256 for an exact assessment.
A standard chimney sweep in Fairfax typically runs $189 to $349 depending on the chimney height, accessibility, and creosote class. A sweep with a camera-scan inspection (NFPA 211 Level 2) typically runs $249 to $449 because of the added time and documentation. Beware of $79 “sweep specials” in the Fairfax market: that price usually covers a brush pass only, with no camera scan, no crown inspection, and no smoke chamber check. The three omissions described above are the result. Call us for a written price before any work, always.
If you skip chimney maintenance, the most likely first failure in Fairfax is crown or junction water intrusion, which presents as ceiling staining around the fireplace within one to two years. If you burn with Class III creosote present, the next highest-risk outcome is a chimney fire, which can crack a clay liner before you know it’s burning. The full repair sequence for an ignored Fairfax chimney, from crown rebuild to liner replacement to firebox repointing, runs $5,000 to $12,000. Skipping a $300 sweep is the most expensive decision in residential fireplace ownership. For a written quote on your specific chimney, call (571) 443-8256.
No, you don’t need a full camera scan every year. NFPA 211 Level 2 is required when the home changes hands, when the use changes (e.g., converting from gas to wood), after a chimney fire, or when there’s an operational problem like smoke roll-out or a new odor. For a homeowner who burns regularly and has no issues, a camera scan every 2 to 3 years is a reasonable interval, with annual visual checks in between. We include a camera scan on every visit as standard because it produces the photo record that becomes your service history.
Fairfax’s clay-heavy soil is the main difference. The seasonal expansion and contraction of Piedmont clay puts stress on chimney footings and causes the crown-to-flue junction to separate on a cycle that homeowners in sandy-soil regions don’t experience. Fairfax also gets enough freeze-thaw cycling each winter to widen any crack that’s already open, and the 43 inches of average annual rainfall means cracks become water intrusion channels quickly. The spring crown check described above is the maintenance item that matters most in Fairfax, and it’s the one most out-of-area sweep franchises don’t know to prioritize.
You can clean the first 2 to 3 feet of the flue from the firebox with a basic brush kit, but you cannot clean or inspect the upper flue, the smoke chamber, or the crown junction this way. A DIY cleaning also produces no documentation, no creosote classification, and no camera record. For homeowners who DIY the visual checks and leave the cleaning and inspection to a professional, that’s a reasonable division of labor. For anyone attempting a full chimney sweep without a proper brush system, ladder work, and dust containment, the risk of a fall or a botched job exceeds the cost of hiring it done. Call (571) 443-8256 for a written quote before burning season.
The Bottom Line
A useful chimney maintenance checklist doesn’t tell you to look for cracks. It tells you which crack size fails, which material class demands action, and which measurement you cannot make without professional equipment. Fairfax homeowners who run the 7-point pass/fail checklist above, log the results each year at the right season, and address the three items budget sweeps skip will avoid most of the expensive outcomes that show up in this region: crown-junction water damage, hidden liner failure, and creosote fires in unmeasured flues. The entire system hangs on one habit: measure, log, and act on the fail. Everything else is just looking.
If you’d like a professional camera-scan inspection to establish a baseline, or if any item on this checklist returns a fail, we’re at (571) 443-8256 and we’ll walk you through it. For fireplace-related questions beyond the chimney itself, see our Fireplace Services in Fairfax page. And if you’ve already found damage and want to understand the repair paths, start with Chimney Repair in Fairfax.
Written by Corrine Halstead, Owner at Level Two Chimney Fairfax, serving Fairfax since 2009.